
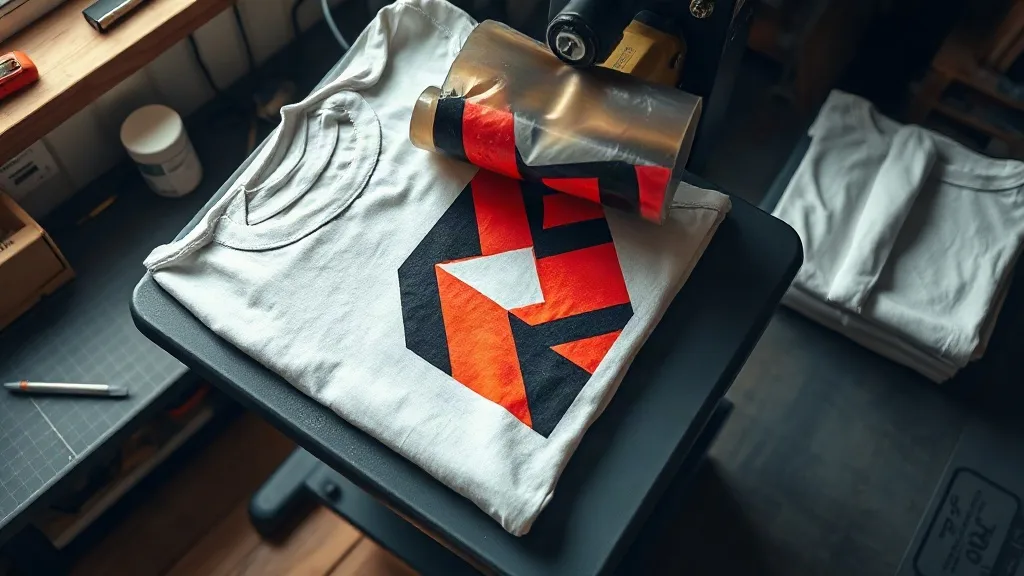
Most print shops learn about dtf transfers the hard way: a customer brings in a stack of heavyweight tees, the first sample looks perfect, and three weeks later the same customer returns with a cracked design and a disappointed look. The film peeled cleanly, the colors popped, and the press read the right temperature. So what went wrong? Usually nothing dramatic. The gap between a good sample and a durable production run comes down to fabric, moisture, pressure, and the small habits that separate a shop that prints from a shop that prints well.
This guide walks through what actually happens when you press dtf film onto shaka wear blanks, why certain styles behave differently, and which adjustments are worth making before you commit to a full order.
Why Shaka Wear Blanks Keep Showing Up in Print Shops
Ask anyone who prints streetwear or team apparel and they will mention shaka wear sooner or later. The brand built its reputation on heavyweight cotton tees with a boxy, structured drape, the kind of garment that holds a shape on a hanger and does not go sheer under stage lighting. For decorators, that weight is both an advantage and a variable.
Heavier fabric absorbs more heat before the print zone reaches temperature, and a tight knit holds moisture longer after pre-pressing. Those two facts explain most of the adhesion problems people blame on the transfer itself. Once you account for them, the same film that failed on a rushed press run will hold up through dozens of wash cycles.
The styles worth knowing
- Heavyweight crew necks: dense cotton, excellent for large front or back prints, but they need a longer pre-press.
- Ring-spun blends: softer hand feel, slightly faster to press, and generally more forgiving on peel temperature.
- Long sleeves and hoodies: seams and pockets create uneven pressure zones that demand a pressing pad or a repositioned platen.
How DTF Film Actually Bonds to Cotton
Direct-to-film printing works differently from vinyl or screen printing. A printer lays a mirror-image design onto a PET film, dusts it with adhesive powder, and cures the powder until it becomes a flexible glue layer. When you press that film onto a shirt, the adhesive melts into the fiber surface while the ink sits on top.
That means the bond is mechanical, not chemical. The adhesive needs to flow into the fabric texture, which is why pressure and temperature matter more than press time alone. On a loosely knit or heavily textured garment, the adhesive has more surface to grab. On a tight, dense weave, it has less. This is the single most useful thing to understand before you press anything onto a heavyweight blank.
Temperature, pressure, and the peel test
A workable starting point for cotton is around 150 to 160 degrees Celsius with medium to firm pressure for 10 to 15 seconds. Cold peel is the safer default with most modern films, though a warm peel can work if the film releases without dragging ink. Rather than trusting a single setting, run a peel test on an offcut of the same fabric you plan to use. Press, peel, and inspect the edges. If the adhesive looks stringy or the corners lift, you are undercured or under-pressured. If the design looks flattened and glossy, you went too hot.
Pre-Pressing: The Step Everyone Skips
Moisture is the quiet enemy of dtf transfers. Cotton holds ambient humidity, and a shirt pulled straight from a poly bag or a humid storage room can release steam the moment the heat platen touches it. That steam pushes up through the adhesive layer and creates the tiny bubbles that later turn into cracks.
Pre-press each garment for 5 to 8 seconds at press temperature before the film goes down. On heavyweight blanks, extend that to 10 seconds. You are not just flattening wrinkles; you are driving off surface moisture and stabilizing the fabric so it does not shrink under the second press. It adds a few seconds per piece and removes an entire category of returns.
Placement Details That Decide the Final Look
Placement is where technical printing meets design judgment. A few habits make a visible difference:
- Measure from the collar seam, not the shoulder, so the print sits consistently across sizes.
- Center the design on the platen, then check against the garment, not the other way around.
- On heavyweight tees, allow a little extra margin at the bottom of the print so the design does not crowd the hem.
- For hoodies, use a pressing pillow or slide the platen inside the body so the zipper or pocket does not create a pressure shadow.
None of this is complicated, but skipping it produces the crooked, off-center prints that make a good garment look cheap.
Wash Durability: What to Tell Your Customers
Durability claims should be honest. A properly pressed dtf print on a quality cotton blank will typically survive 40 to 50 home wash cycles before noticeable fading or edge wear, and often more if the garment is washed cold and turned inside out. Heat is the main threat, so tumble drying on high will shorten the print's life faster than anything else.
Give customers a simple care card: wash cold, turn inside out, skip fabric softener, and hang dry or tumble low. That single instruction set reduces complaints more than any upgrade to the film itself. It also gives you a defensible answer if a customer claims the print failed prematurely.
Common Problems and Their Fixes
Edges lifting after the first wash
Usually under-pressure at the perimeter of the design. Check that your platen is level and that the garment is not bunched under the press. A second short press with a protective sheet can rescue borderline pieces.
Patchy, uneven adhesion
Moisture or fabric texture. Pre-press longer and consider a firmer pressure setting on textured knits.
Stiff, plastic-feeling print
Too much adhesive powder or excessive heat. Shake off excess powder before curing and verify your press temperature with an infrared thermometer rather than the dial.
Color shift after pressing
Over-curing scorches the ink layer. Drop the temperature by 5 degrees and re-test on an offcut.
Matching Design Style to Garment Weight
Heavyweight cotton rewards bold, large-format graphics. A full back print with solid blocks of color looks intentional on a structured tee and flimsy on a lightweight one. Fine line work and small left-chest logos, meanwhile, suit softer ring-spun blanks where the fabric drapes and moves.
When you plan a collection, decide the garment first and design to it. Shops that treat the blank as an afterthought end up forcing a delicate illustration onto a heavy tee, then wondering why the print feels out of place. The blank is not a canvas you pick at the end; it shapes what the design should be.
Frequently Asked Questions
Can DTF transfers be applied to dark and light shirts equally well?
Yes. DTF film carries a white ink base, so the same design works on black, white, and everything between without reformatting the artwork. You may want to adjust the white layer thickness for very light garments to avoid a slightly raised feel, but no separate file is required.
How long should I press a heavyweight cotton tee?
Start at 10 to 15 seconds at 150 to 160 degrees Celsius with firm pressure, after a 10-second pre-press. Heavier fabric takes longer to reach temperature, so if the peel feels tight, add a few seconds rather than raising the heat.
Do Shaka Wear blanks shrink enough to affect print placement?
Cotton garments can shrink slightly after the first wash, mostly in length. Pre-shrinking with a pre-press helps, and measuring placement from the collar seam keeps the design visually centered even if the shirt settles a little.
Is DTF suitable for small orders or one-off custom pieces?
It is one of the better options for short runs. There is no screen setup cost, gang sheets let you combine multiple designs on a single film, and you can press a single shirt economically. That flexibility is why small studios and side businesses have adopted it so widely.
What is the most common mistake beginners make?
Skipping the pre-press and trusting the press dial. Ten seconds of prep and a quick temperature check with an infrared thermometer prevent most of the defects that get blamed on the film.
Putting It Into Practice
The technical side of dtf transfers is not difficult once you understand what the adhesive is doing. The real skill is consistency: the same pre-press, the same measured temperature, the same placement routine on every garment. Pair that discipline with a blank that suits your design intent, and the results hold up on the shelf, in the wash, and in the customer's hands long after the sale.